
The weather has been pretty wet and gloomy over the last few week.
With K and I both still on crutches and not able to leave the house much, the best thing for us to do on a rainy day is to whip up a batch of warm, gooey cookies from scratch.
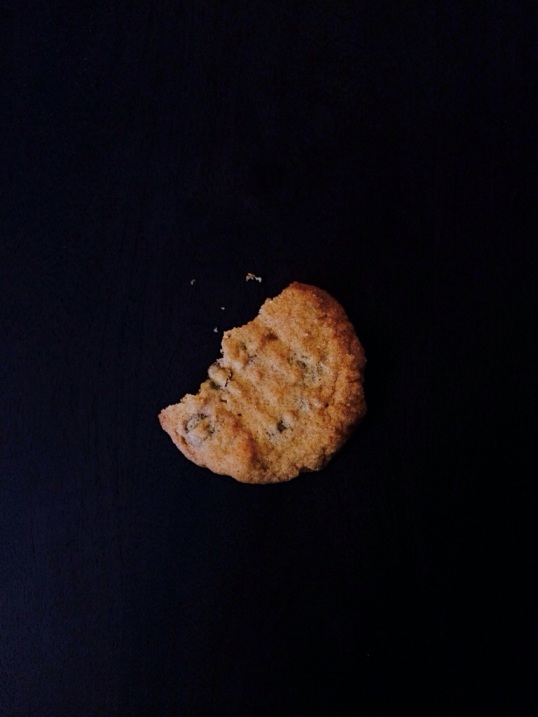
There’s something so comforting about the smell of cookies baking in the oven, especially when it’s coupled with the sound of raindrops falling outside. I especially love testing out different cookie dough mixtures during rainy days, it’s very therapeutic for me to cream the butter, mix in the eggs and fold in the chocolate. The cookies that I’m sharing with you today are some of the tastiest and best looking ones that I’ve baked this year, so far.

A solid recipe from Joy the Baker, I only adjusted a few very minor things to better suit our tastes. You can easily just go by the original recipe and you’ll end up with a batch of phenomenal cookies. However, if you like your treats a tad less sweet, then feel free to give my very slightly adapted recipe a quick try.
2 1/2 cups all-purpose flour
1 teaspoon baking soda
1/2 teaspoon baking powder
1/4 teaspoon salt
A pinch of freshly grated nutmeg
2 sticks (8 ounces) unsalted butter, at room temperature
1 cup smooth peanut butter*
1 packed cup light brown sugar
½ cup, plus 1 TBsp granulated sugar
2 large eggs
1 1/2 cup semi-sweet chocolate chips
1/3 cup granulated sugar for rolling cookies
A few sprinkles of sea salt
- Preheat the oven to 350F
- Move the oven racks to divide the oven into thirds and line two baking sheets with parchment paper or silicone mats. Alternatively, if you are only using 1 large baking sheet, move the oven rack that you plan to use to the center of the oven.
- Whisk together the flour, baking soda, baking powder, salt and nutmeg.
- Working with a stand mixer that’s fitted with a paddle attachment, or with a hand mixer in a large bowl, beat the butter on medium speed until smooth and creamy. Add the peanut butter and beat for another minute.
- Add both the brown and granulated sugar and beat for 3 minutes more.
- Add the eggs one at a time, beating for 1 minute after each addition. Scrape down the sides and bottom of the bowl and, on low speed, add the dry ingredients, mixing only until everything is incorporated.
- Fold in the chocolate chips to complete the cookie dough
- Pour the 1/3 cup sugar that you had set aside for rolling the cookies into a small bowl. Working with a tablespoonful of dough for each cookie, roll the dough between your palms to form balls and place them on the baking sheet, leaving 2″ spaces them. **
- Dip the tines of a fork in the sugar and press the tines against each ball first in one direction and then, dip the fork again, and press the cookie ball in a perpendicular direction- you should have a flattened dough ball with crisscross indentations. A great photo showing this step can be found here, by Nourish, Preserve & Flourish, who made a GF Vegan version of this cookie)
- Bake the cookies for 12 minutes, rotating the 2 baking sheets from top to bottom and from front to back at the 6 minute mark. If you are only using 1 baking sheet, then simply rotate the pan 180 degrees at the midway mark.
- When done, the cookies will be lightly coloured and a little soft. Let the cookies cool on the baking sheet for a minute before transferring them to a cooling rack.
- While the cookies are still warm, sprinkle a few flakes of sea salt onto each cookie
- Repeat with the remaining dough, making sure to cool the baking sheets between batches.
*Joy’s recipe says that crunchy peanut butter also works. I did not personally test it out in my kitchen so have left it out here. If you try it, I would love to know how it turns out! I suspect that it will be even more delicious!
** You may have noticed that in Joy’s recipe, she rolled the dough balls in the granulated sugar before placing it onto the baking sheet. I took out that step here because I wanted to avoid the extra sweetness from the rolled-on sugar. By dipping my fork into the sugar every time before using them to press the cookies, I found that it was enough to keep the cookies from sticking to the fork and they flatten to the desired shape.
